Have you noticed a problem where some visitors can’t enter your subdomains safely or maybe they can’t access them at all?
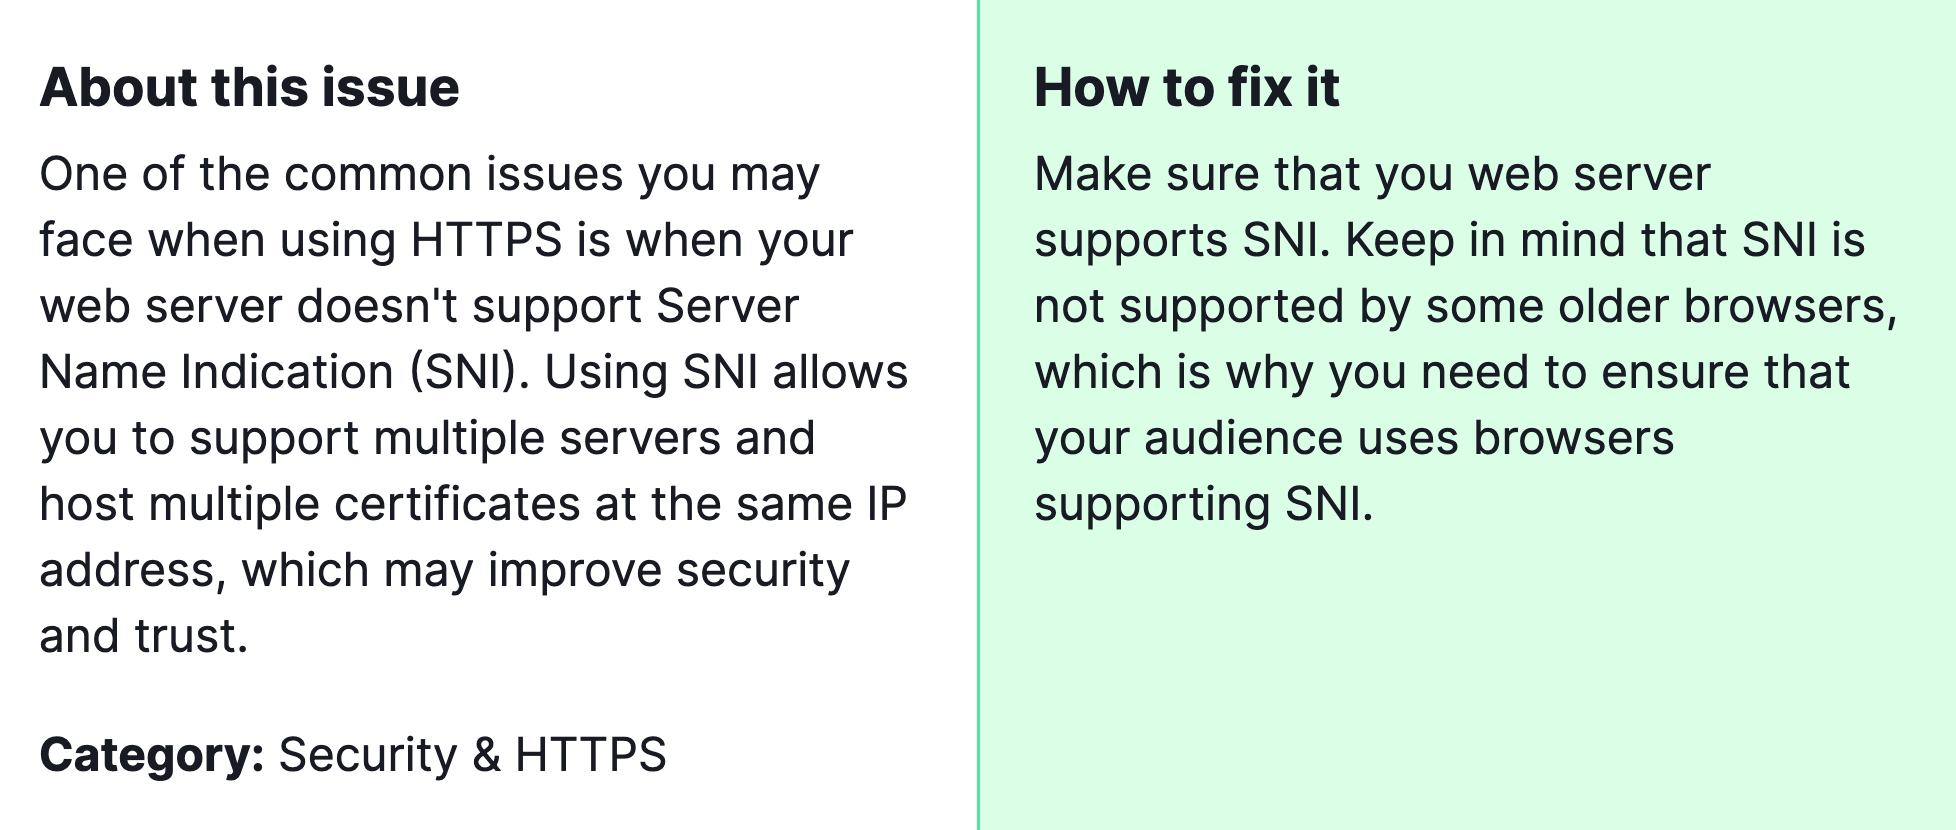
This could be due to an SNI (Server Name Indication) issue.
In simple terms, SNI is a tech solution that lets your server present the right secure website to your visitors, crucial when you’re hosting multiple sites under one roof.

Why is fixing this important? Without SNI support for your subdomains, you’re essentially leaving some of your visitors outside, unable to enter. This not only affects your site’s accessibility but can also dent your SEO efforts and your site’s trustworthiness.
In this post, we’re guiding you through how to fix it, ensuring every visitor can access your site securely and smoothly.
How to fix the Semrush Site Audit Warning of “subdomains don’t support SNI”?
Here is the 6-step clear guide to fix the issue on your own.

1) Contact Your Hosting Provider
- First step: Reach out to the company hosting your website. They’re in charge of the servers where your site lives.
- What to say: Tell them you’ve found an issue where your subdomains don’t support SNI. Ask if they can help you enable SNI for your subdomains.
2) Check Your Hosting Plan
- Sometimes, the problem might be because your current hosting plan doesn’t include SNI support.
- Action: Ask your hosting provider if your plan supports SNI. If not, you might need to upgrade.
3) Update Your WordPress and Plugins (only for WordPress users, otherwise skip this step)
- Keeping WordPress and your plugins up to date can sometimes fix issues like this.
- How to do it: Go to your WordPress dashboard, then to the Updates section. Install any available updates for WordPress and your plugins.
4) Use a Plugin for SSL or Set Up a Cloudflare SSL.
- There are WordPress plugins designed to manage SSL certificates (which are part of the secure connection, including SNI).
- Finding a plugin: Look for a reputable SSL plugin by going to your WordPress dashboard, then Plugins > Add New > search for “SSL”. “Really Simple SSL” is the most popular choice.
- Installation: Choose a plugin with good reviews and install it. Follow the plugin’s setup instructions.
5) Manual Configuration (Advanced)
- If you’re comfortable with more technical steps, you can manually configure your web server to support SNI. This usually involves editing web server configuration files.
- Important: This step is best for those who have technical knowledge or can hire someone who does. Mistakes can make your website unreachable.
6) Test Your Website
- After making these changes, you’ll want to make sure everything works correctly.
- How to test: Use an online tool to check if your website and subdomains are correctly set up for SNI. You can search for “SNI checker” online and use one of the tools you find.
If nothing listed above works you can contact our team so we can help you out with this.


