Uncompressed JavaScript and CSS files can significantly impact your website’s performance. When a website loads, it fetches various files, including JavaScript and CSS, to render the page properly. Uncompressed files contain unnecessary whitespace, comments, and other characters that increase their size. This can lead to longer loading times, negatively affecting user experience and SEO rankings.
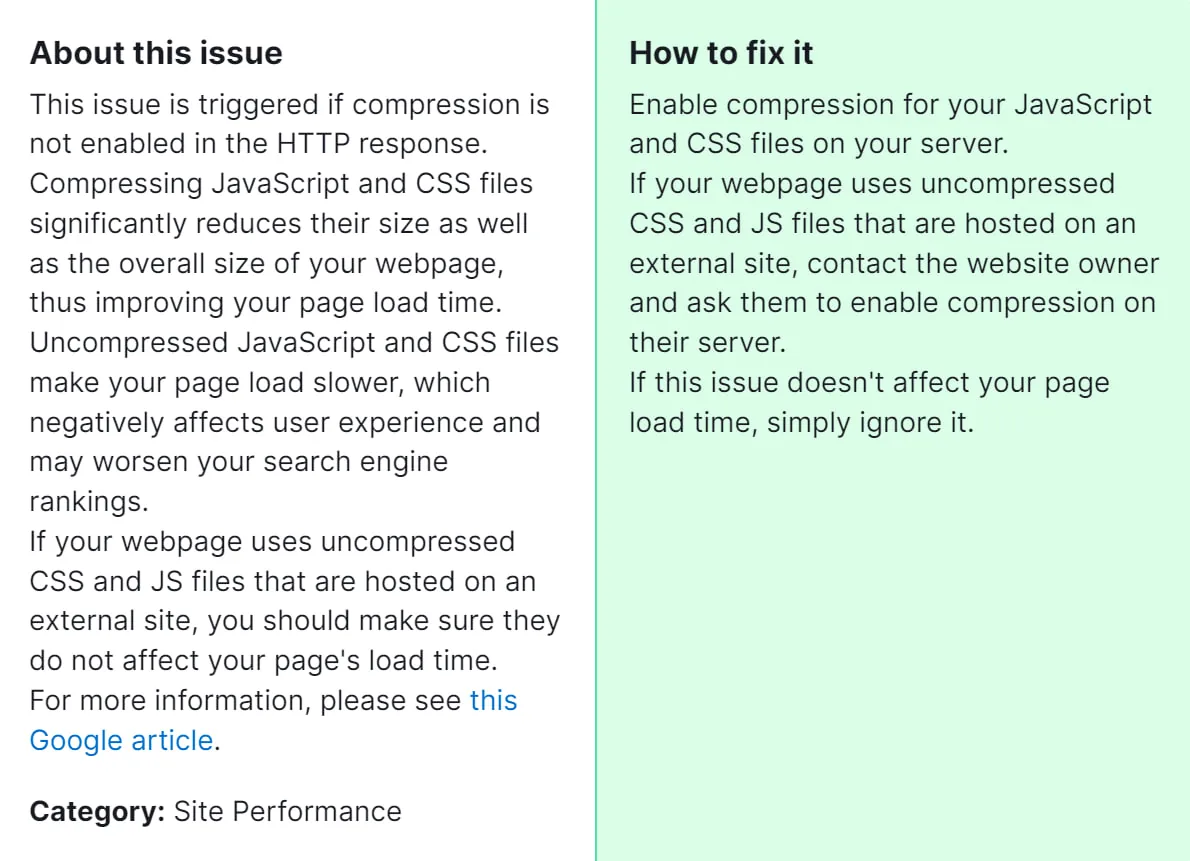
Fixing uncompressed JavaScript and CSS files is crucial for optimizing website performance and improving user experience. By compressing these files, you can reduce load times, which is essential for retaining visitors and improving conversion rates. Additionally, optimizing your site’s performance can positively impact your search engine rankings, as faster-loading websites are favored by search engines.
How to Fix “Issues With Uncompressed JavaScript and CSS Files” Detected by a Semrush Audit

Step 1: Identify Uncompressed Files
- Access your SEMrush account and navigate to the Site Audit tool.
- Run a site audit and review the results to identify uncompressed JS and CSS files.
Step 2: Compress JavaScript and CSS Files
- Use a compression tool or a plugin to compress your JavaScript and CSS files.
- For JavaScript, you can use tools like UglifyJS or Closure Compiler. For CSS, tools like CSSNano or YUI Compressor are commonly used.
- Ensure that the compression process removes unnecessary whitespace, comments, and other non-essential characters while preserving functionality.
Step 3: Implement Gzip Compression
- Enable Gzip compression on your web server to further reduce the size of compressed files during transmission.
- Gzip compression can be enabled through server configurations or by using plugins if you’re using a CMS like WordPress.
Step 4: Update References
- Update references to the uncompressed files in your website’s code to point to the compressed versions.
- Replace links to uncompressed files with links to the newly compressed files.
Step 5: Test and Validate
- Test your website thoroughly to ensure that all JavaScript and CSS functionality is preserved after compression.
- Use tools like Google PageSpeed Insights or GTmetrix to analyze your website’s performance and verify that the issue has been resolved.
- Validate your website’s HTML, CSS, and JavaScript using W3C validators to ensure compliance with web standards.
Step 6: Monitor and Maintain
- Regularly monitor your website’s performance using tools like Google Analytics to identify any new issues related to uncompressed files.
- Keep your JavaScript and CSS files updated and continue to optimize them for performance as your website evolves.
By following these steps, you can effectively fix issues with uncompressed JavaScript and CSS files, leading to improved website performance and user experience. If the steps above don’t resolve the issue, feel free to contact our team for further assistance.