Changing your domain name might sound like a big deal. You’re worried about losing traffic or hurting your brand, right? But sometimes, it’s necessary. Maybe you’re rebranding, or you’ve found a shorter, catchier name. Whatever the reason, it’s totally possible to switch things up without taking a hit. Let’s break down how to do it smoothly and keep your online presence strong.
Step 1. Choose Your New Domain
Choose a domain name that reflects your brand and is easy to remember. Avoid long or complicated names. The easier it is to type and remember, the better it is for your visitors and your SEO. For example, domains with the ending “.com” are much easier to remember. It’s the first hint people have about your website, so make it count. If your business is all about handmade pottery, try to include words related to pottery or ceramics in your domain name.
Think about the long term. Will your domain name still fit if you expand your business? Avoid names that are too specific, so you don’t box yourself in. Including a keyword related to your business can help people understand what you offer and improve your search engine ranking. For example, if you’re a plumber, you might want to include “plumbing” or “plumber” in your domain name. Just don’t cram keywords in there for the sake of it; keep it natural and relevant.
Step 2. Create a Backup
Always, always back up your site before making significant changes. This gives you a safety net to fall back on if anything goes wrong during the transition. You can use various tools or plugins, depending on how your site is built.
If you’re using WordPress, plugins like UpdraftPlus or BackupBuddy are lifesavers. Here’s how to use them:
- Install the plugin from the WordPress dashboard by going to Plugins > Add New, then search for your backup plugin.
- Activate the plugin and find its settings in your dashboard.
- Follow the plugin’s instructions to run a full backup. This usually involves clicking a button labeled “Backup Now” or something similar.
- Once the backup is complete, you’ll have the option to download it to your computer. Do it. It’s always good to have a local copy.
Step 3. Start the Moving Process
Now, start transferring your content from the old domain to the new one. If you’re using a content management system like WordPress, some plugins can help move your content more smoothly. Make sure every piece of content finds its place in the new domain.
First things first, you need to move your content. If your website isn’t too big, you might be able to do this manually, copying page by page. But for larger sites, you’ll want to use a tool or plugin that’s designed for this. If you’re using a platform like WordPress, plenty of plugins can help you export your site’s content and then import it to the new domain.
Next up, make sure your new site looks like your old one. This is about more than just comfort; it’s about brand recognition. You want your visitors to know they’re in the right place. So, transfer over your theme, custom designs, and any specific settings that make your site look the way it does.
Websites aren’t just about content and design. You’ve probably got a bunch of extras hanging around like plugins, widgets, or special code snippets. Make sure these make the trip over to your new domain as well. Check compatibility if you’re moving to a different platform or server environment.
Once everything’s moved over, it’s testing time. Click through every page, test every form, and make sure all your images and links are working correctly. This is like doing a final walk-through of your house before you fully settle in. You want to catch any issues now, not after you’ve told the world about your new domain.
Even after you’ve moved everything over, keep your old site online for a little while. This is just a safety measure. You’ll be setting up redirects soon (which we’ll get into in the next steps), but it’s good to have a fallback during the initial transition period.
Step 4. Set Up 301 Redirects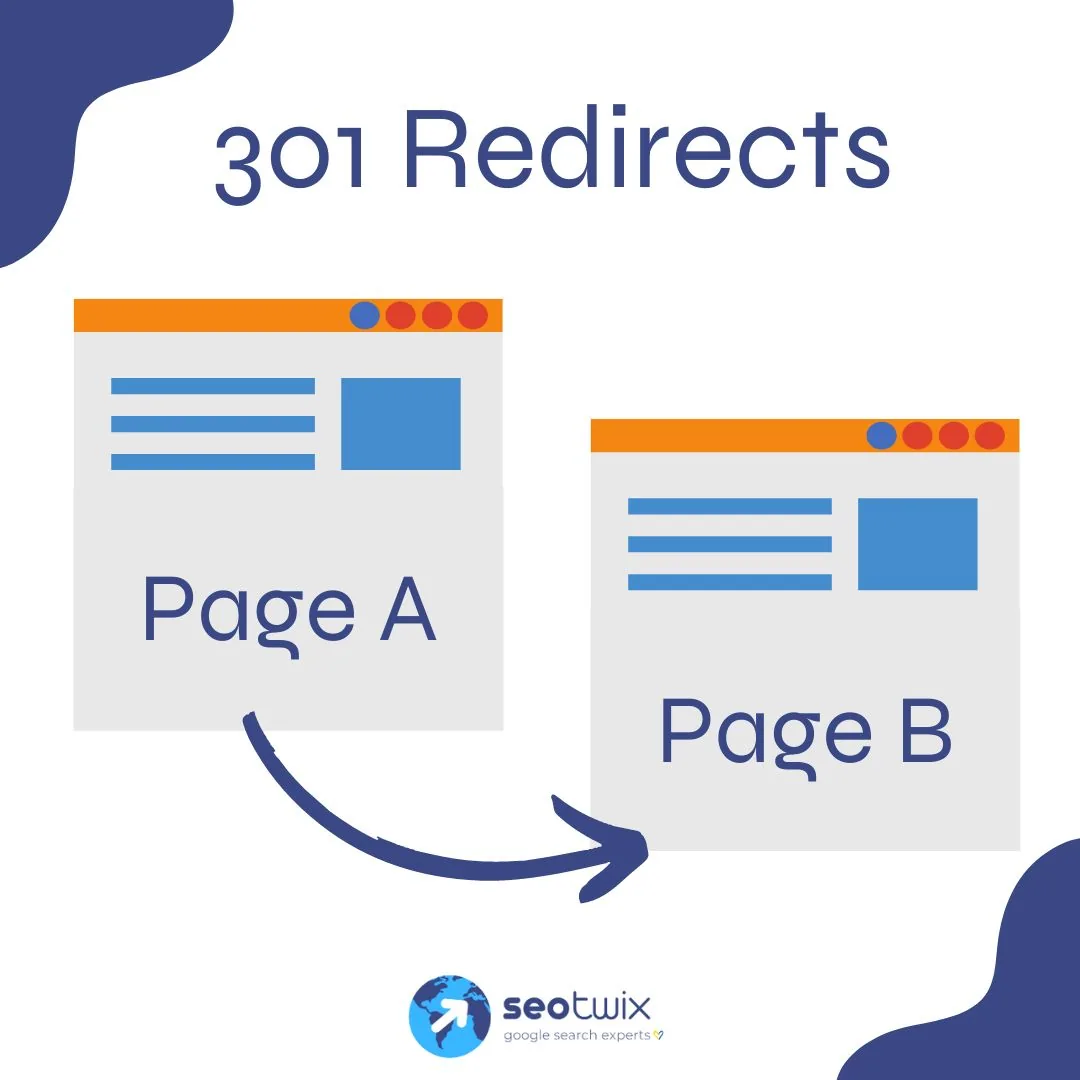
This is crucial for maintaining your SEO. A 301 redirect tells search engines that a page has permanently moved to a new location. Set up 301 redirects for every single page from your old domain to the corresponding page on your new domain. This way, you don’t lose traffic, and search engines transfer the SEO value from the old domain to the new one.
While you can set up 301 redirects by editing your .htaccess file directly, using a plugin is way easier and safer, especially if you’re not too tech-savvy. There are plenty of free plugins out there like ‘Redirection’ or ‘Simple 301 Redirects’. Go to your WordPress dashboard, find the “Plugins” section, click “Add New,” search for one of these plugins, install it, and then activate it.
There are plugins like Redirection, Yoast SEO Premium, or Safe Redirect Manager.
When the plugin is activated, it’s time to set up the redirects. If you’re using Yoast SEO, on your WordPress dashboard, you should see a Yoast SEO menu item. Hover over this, and you’ll see a bunch of options pop up. Click on “Tools” and then “Redirects.” This is your command center for creating new redirects.
In the Redirects section, you’ll see a place to set up new redirects. Before you start filling in fields, make sure you’re choosing the right type of redirect. For most cases, especially for permanent moves, you’ll want to select “301 – Moved permanently.”
Now, you’re going to tell Yoast SEO where the traffic from an old page should go. You’ll see two main fields here: “Old URL” and “New URL.”
Old URL: This is the path of the page that’s moving. You don’t need to put the whole website address, just the part that comes after your main domain. For example, if the old page was www.yourwebsite.com/old-page, you just need to put /old-page.
New URL: Here, you put where you want visitors to be redirected to. Unlike the Old URL, you need to put the entire URL here, such as http://www.yournewsite.com/new-page.
After you’ve filled in the old and new URLs, click “Add Redirect.” This tells your website to automatically send visitors (and search engines) to the new page whenever they try to access the old one.
Don’t just set it and forget it. After adding your redirects, it’s a good idea to test them out. Enter the old URL into your browser and see if it smoothly takes you to the new location. If it does, you’ve done everything right.
If you have too many pages for redirection, you can use .htaccess file method. This is a little harder, but faster way.
Step 5. Update Your Site’s Internal Links
Go through your site and update any internal links to point to the new domain. This includes links in your content, menu, footer, and anywhere else they appear. This step is a bit tedious but crucial for a seamless user experience and maintaining link equity.
Why do you need to update them? When you move to a new domain, any links pointing to the old domain need updating. If you don’t, visitors and search engines might end up at a dead end, and that’s not good for anyone.
- List Your Pages: Start by making a list of all your pages and their current URLs. This will be your checklist to make sure you don’t miss anything.
- Find and Replace: If you have access to a tool or plugin that can do a “find and replace” across your website, use it to update the domain in your internal links. For example, change all instances of “http://oldsite.com” to “http://newsite.com”. Just make sure you test this on a small scale first to avoid any mishaps.
- Manual Check: Even with tools, it’s wise to do a manual check, especially on your most visited pages. Sometimes, automated tools miss things, or there might be nuances they can’t handle.
- Update Menu and Footer Links: These are easy to overlook but super important. Make sure the links in your site’s menu and footer are pointing to your new domain.
Check Your Content: Go through your content to update any internal links. This includes links in your blog posts, landing pages, and anywhere else you might have linked to other pages on your site.
Step 6. Inform Google
Use Google Search Console to tell Google about your change of address. This helps Google re-index your site faster under the new domain. Add and verify your new domain in Search Console, then submit a change of address. This is like telling the post office you’ve moved so your mail gets delivered to the right place.
Once both domains are up and running in Search Console, look for the Change of Address tool. This tool is specifically designed to inform Google when you move your site to a new domain. Select your old domain (the one you’re moving from), and then you’ll see an option to pick your new domain from a dropdown menu. Choose your new domain (the one you’re moving to) here.
The tool will guide you through a few checks to ensure everything is in order, like making sure your 301 redirects are set up correctly. It’s pretty user-friendly, so just follow along. If it finds any issues, it’ll let you know so you can fix them. This is Google’s way of making sure it can confidently direct traffic to your new domain without any hiccups.
After you’ve passed all the checks, you’ll be able to submit your change of address request to Google. Then monitor your traffic and rankings in Google Search Console. It can take some time for Google to process everything, but you should start to see your new domain showing up in search results instead of the old one. Also, check for any crawl errors and keep an eye on your email for any messages from Google in case there are issues.
Step 7. Update Your Business Listings and Social Media Profiles
Don’t forget to update your new domain name in other places where your business is listed. This includes social media profiles, business directories, and any other listings. It ensures customers and search engines find your new domain everywhere they look.
Changing your domain name doesn’t have to mean starting over with SEO. With careful planning and execution, you can make the transition smoothly and maintain your search engine rankings. Remember, it’s about keeping those connections alive while moving forward. Good luck with your new domain!